
FOR THE RECORD...the ugliness of this bath is no one person's fault but that of an era (1965), when beauty had much to be desired. That be said, this is BY FAR one of the BEST transformations in this entire house. Said ME. And the hubby. And the daughter. And the two sons. And everyone who has eyes.
BRACE YOURSELVES!!!!
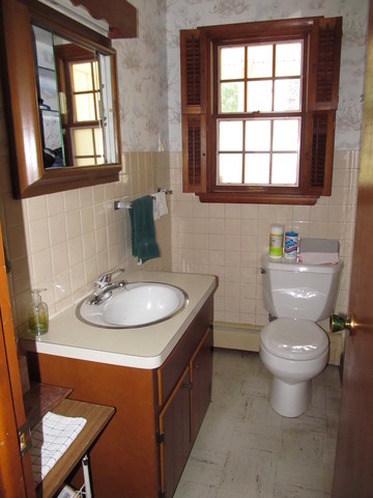
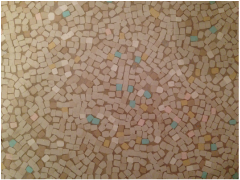
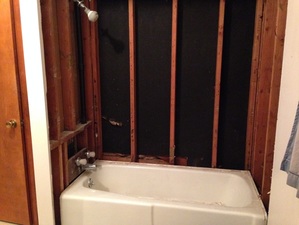
Let us pray. First: The very first day of ownership that I used this little half bath I GLORIOUSLY ripped off one section of wallpaper. I had to put my "mark" on it without hesitation or in-trepidation! I was so intent on my mission I didn't even see the beach theme on the wallpaper...something we could live with for awhile since I was determined to make this home sort of like it belonged in Nantucket. I had to know in my heart of hearts that this was SOON TO BE GONE, from the beige plastic tiles to the horrific floor, whatever the cost to mind, body and pocketbook,
IT WOULD ALL DISAPPEAR!
 | And then a |  |
 |  |
And God blessed us with a son and it went fast!
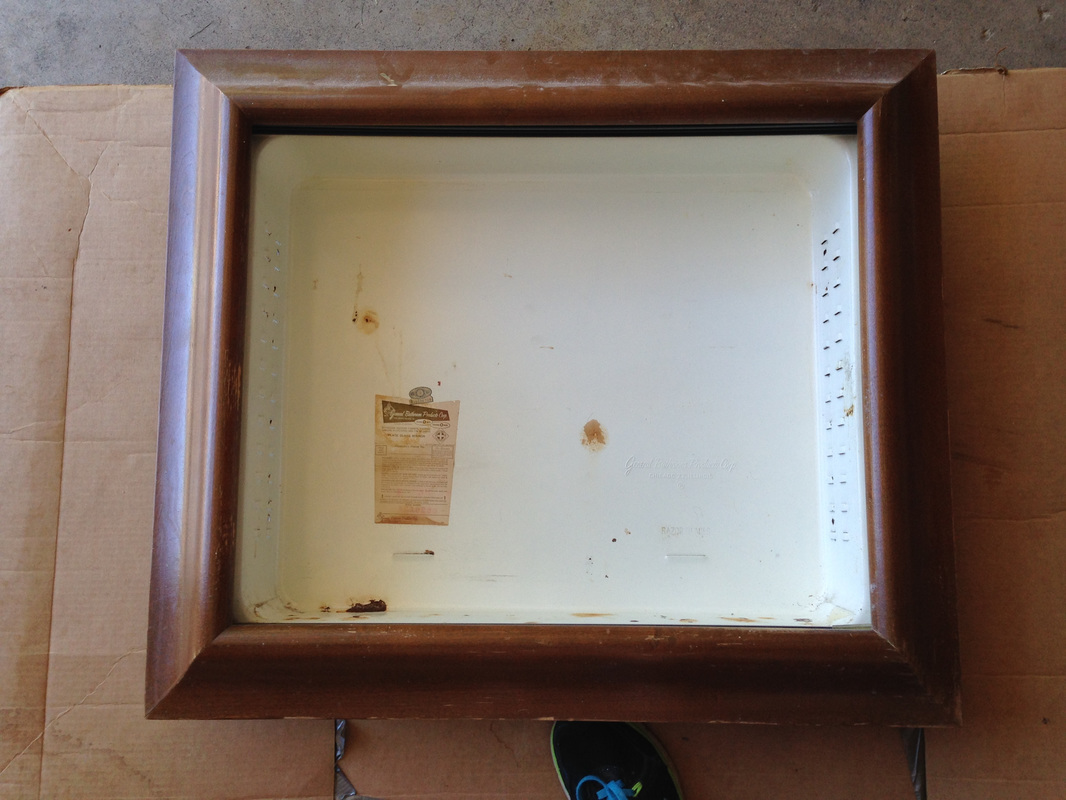
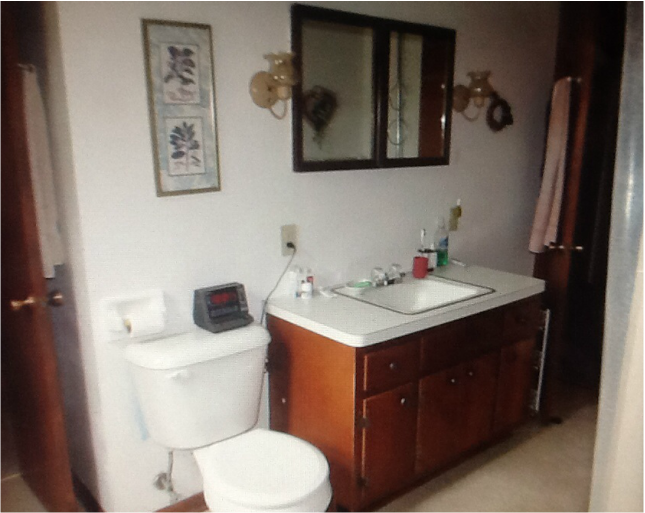
On the list of renovations: A new vanity, a new faucet, a new light, (I had swapped out the florescent bar light with a temporary light just so we could stand the rays) new wall coverings and new flooring. The medicine cabinet actually had an awesome frame that I knew would be triumphantly transformed. And the toilet was newer so we didn't have to flush that one down the drain along with all the money we would spend on the reno.
I was surprised at myself at how quickly I came up with a design solution for this 4x8 space. We were actually out shopping for doors that weekend hoping to tackle the hallway/entrance but when we found we had to special order the doors, my brain actually switched gears and my mouth declared, "THEN WE SHALL DO THE BATHROOM!" AND WE DID! And it was GOOD!
And it all started with the cutest vanity I had spotted at Home Depot...which I cannot find a picture of! LOL
You'll just have to wait for the finished product!

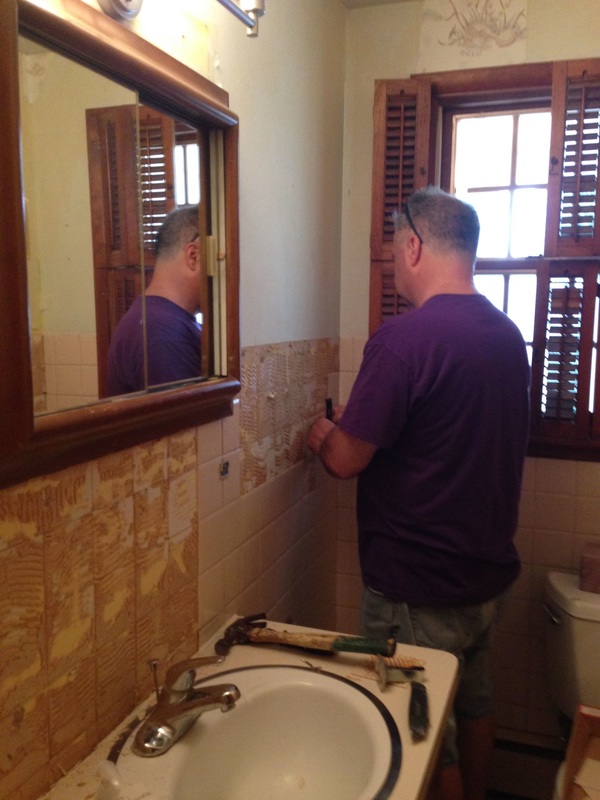
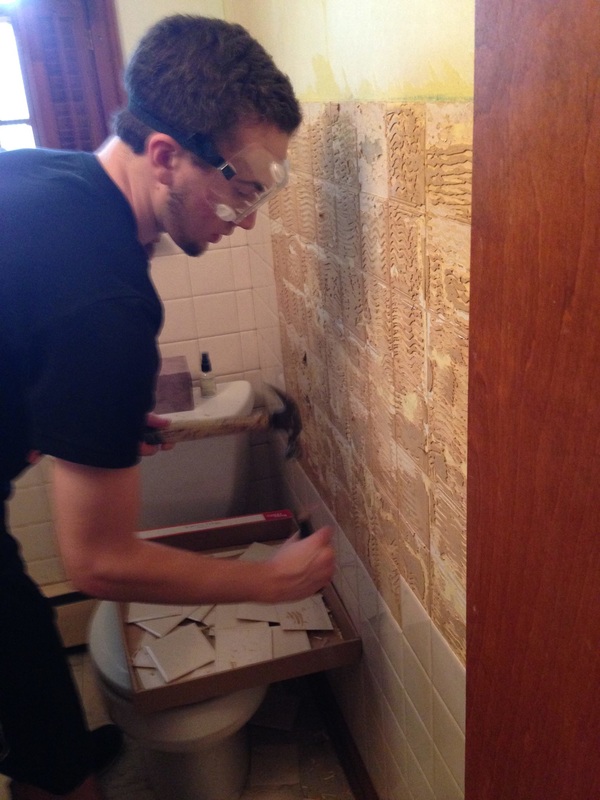
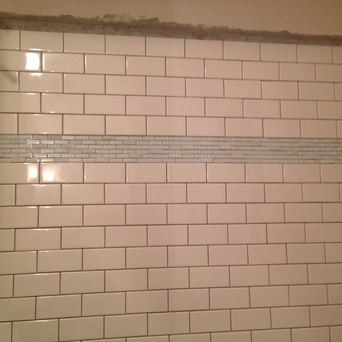
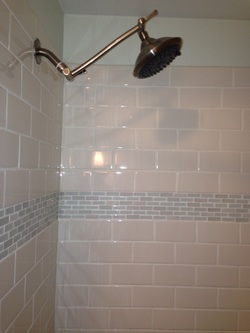
Then it was easy from there. The walls were a nightmare of construction glue from the tiles and the only way to remove it completely would be to tear out the walls. NO WAY HOSEA...this decoratin mama had other plans; thanks to Joanna Gaines and HGTV. What would we do without her and Chip, I have no idea, but I love that girl as if she were my next door neighbor! Her introducing me to shiplap is now my saving grace, right up there pretty darn close to Jesus! I mean, it is so awesome looking, and combines my love of beach cottages and farmhouse decor. It's just the bomb. And it was JUST the ticket for this 1/2 bath reno!
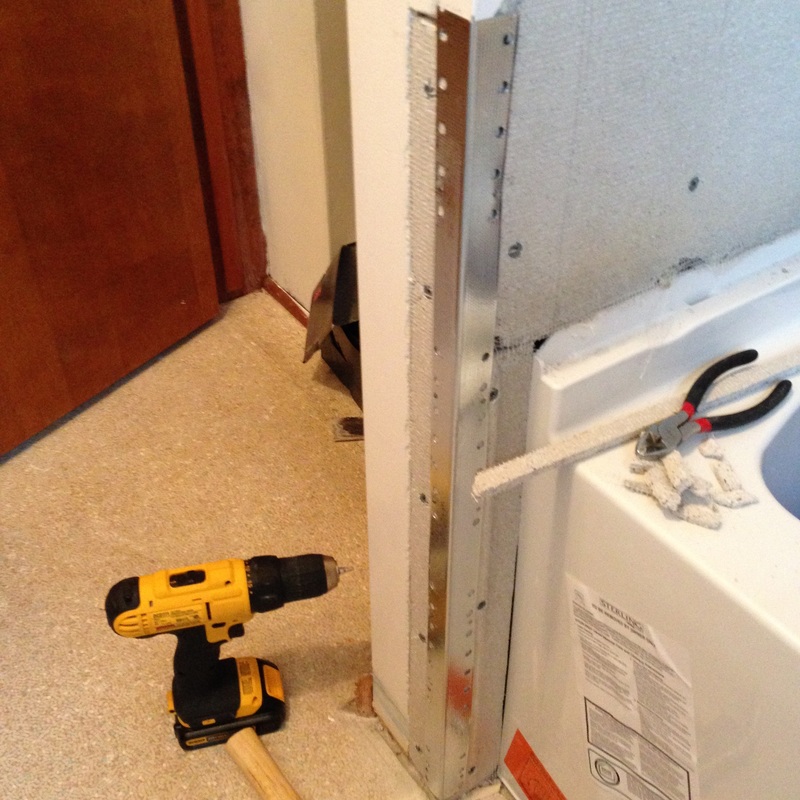
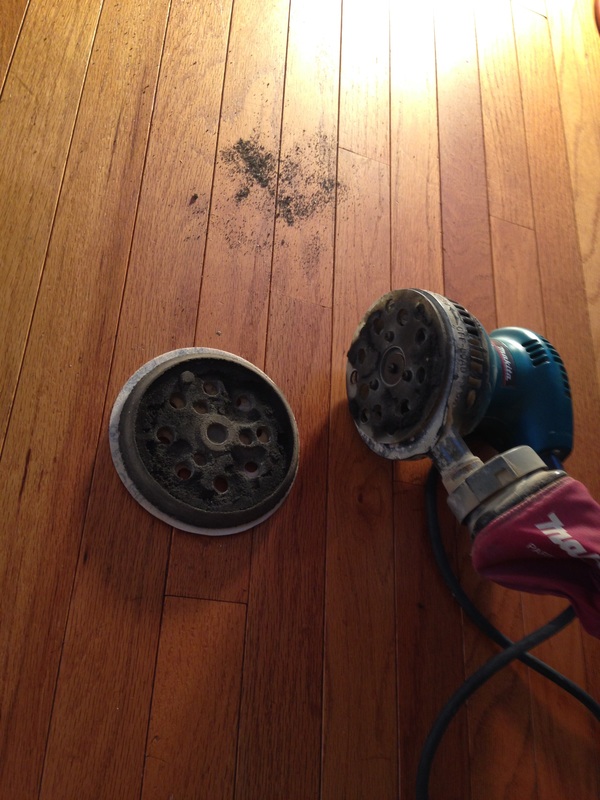
SO after all the tiles were removed, Rich scraped off the bulk of the glue. It did NOT smell good in there at all! So, I primed over all the remaining glue and it was like lilacs in Springtime. Then we made a little trip to Home Depot and picked out a beautiful 4x8 piece of thin plywood...ok, maybe we got three...thinner than 1/4"...pre-sanded, with pretty grain. We had them rip it into 8" strips and then measured each piece to make our walls farmhouse height wainscoting and then the worst wall, clear up to the ceiling. Going to the ceiling was the perfect design even if it was a "forced" decision! And the highlight of the day for the man of the house: He got to use his new air nail gun.
I even got to shoot it and I ain't never had target practice!
 Made a plumb line and went from top to bottom After a WHOLE lotta trips back and forth to the garage for cutting after measuring twice and cutting once, it was time for me to paint! (HUBBY WAS a MASTER with the saw!) I had previously planned to paint the wood solid white, but once I saw the awesome grain, I decided this deserved to be WHITEWASHED. And it turned out way better than expected. I usually use about 1 part paint to 2 parts water. I work bottom to top to avoid runs, like when washing walls. | 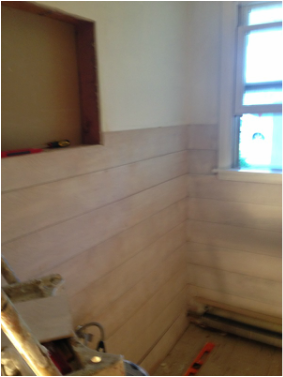 Farmhouse height on 3 walls 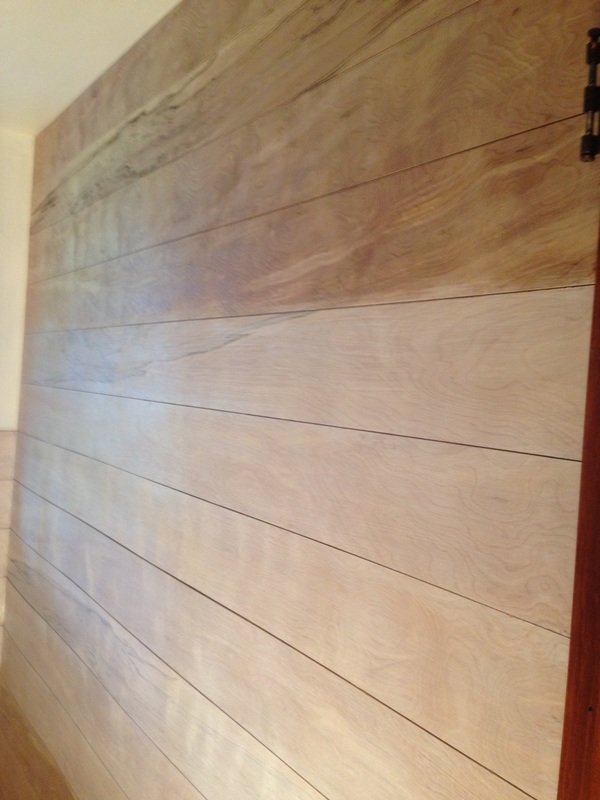 |
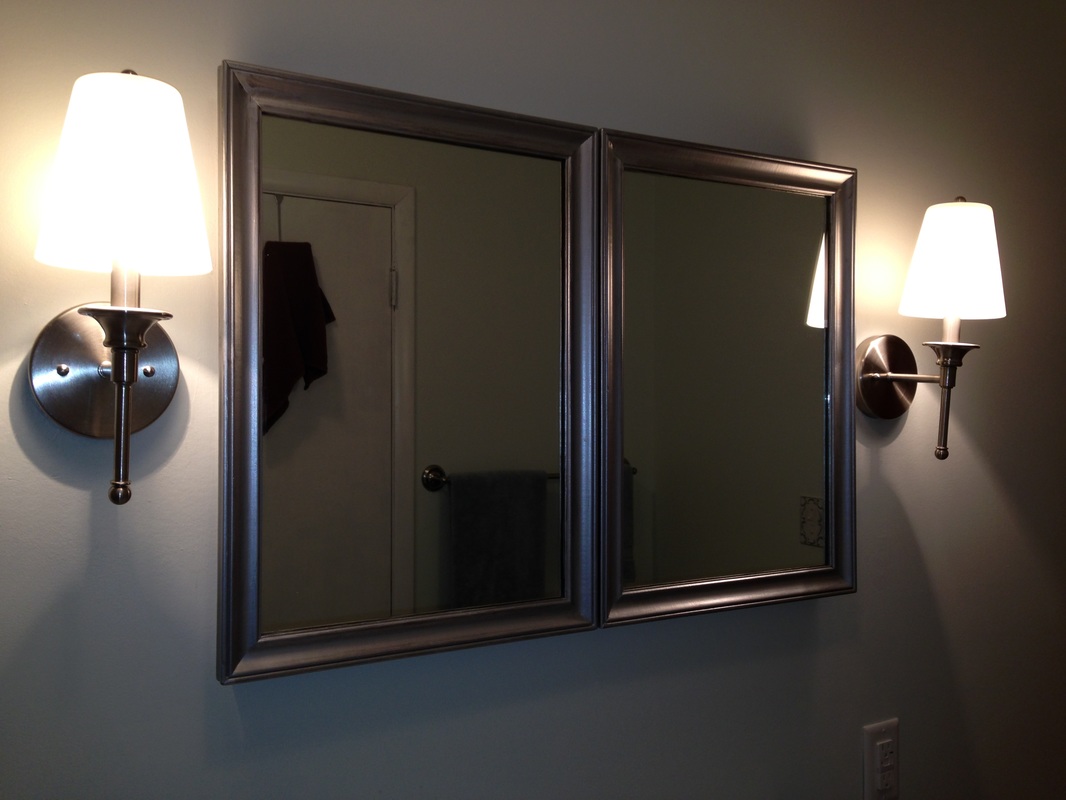
Then I gave the medicine cabinet a complete makeover! Inside and out, I even masked the original tag to preserve the heritage of a little piece of nostalgia we were able to salvage.
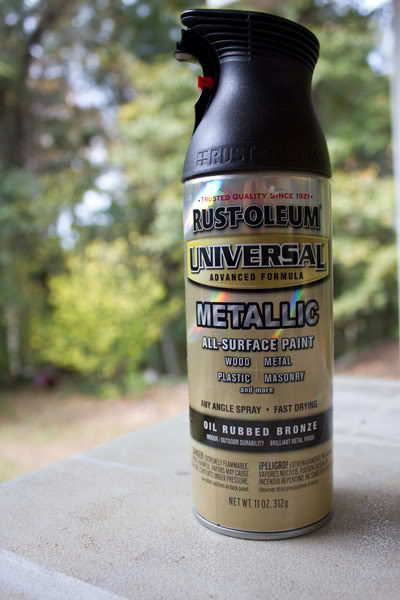 |  |  |  |
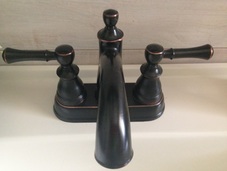
OIL RUBBED BRONZE & GLOSS WHITE: MY NEW BESTIES

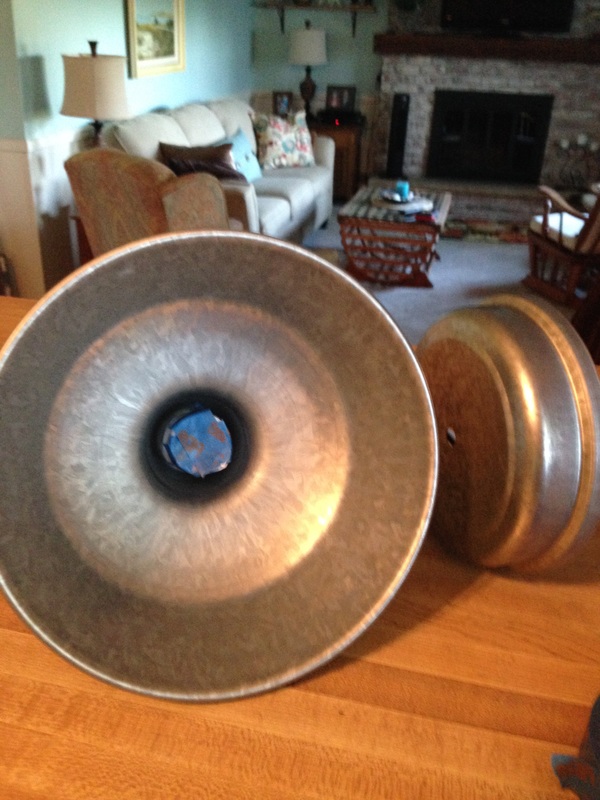
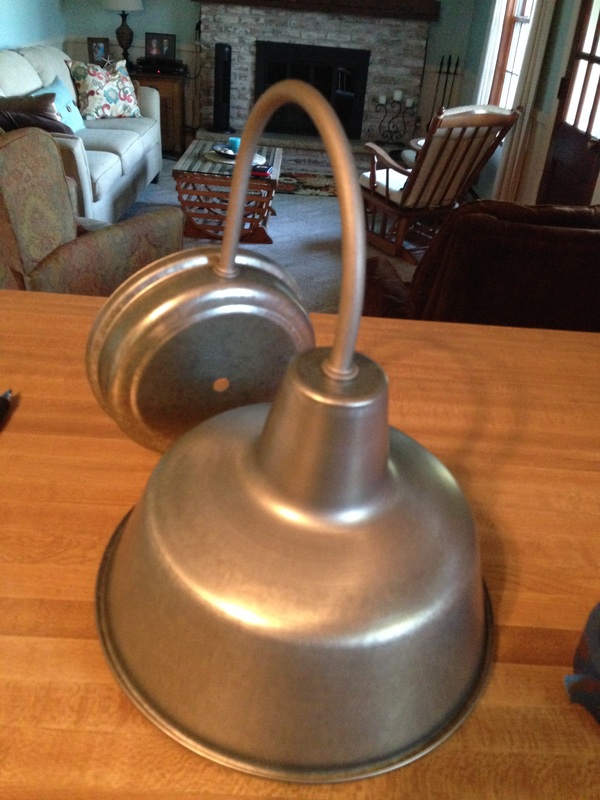
OF COURSE there is a story behind the light. Brought home another outdoor light from Menards, as in Peru, IL there are only 2 home improvement stores to choose from. Moving to Mendota brings a bit of anxiety to a girl who has been forever faithful to LOWE'S. So, one day, after I had already driven from the Chilli house to work on the Mendota house, I called all around and hit everywhere possible in Peru in search of a gooseneck light. NON TO BE HAD. I finally found what I wanted in Peoria at my entrusted Lowes. It was of the outdoor persuasion and a hammered steel. NO PROB BOB, thanks to my trusty Oil Rubbed Bronze Sprayin' machine! SO I DROVE an hour and a half for the light and back again! ALL IN NAME OF DECORATING, MIND YOU! AND THEN, ABOUT 9 o'clock at night I opened the garage door and let the fun begin! The crazy lady is at it again with her spray paint! First I masked around the edges and the socket and painted the inside of the light gloss white. Once it dried I flipped it over and carefully sprayed the rest of the light with the OIL BRONZE. The medicine cabinet was also a home run! POTTERY BARN you NOW HAVE FIERCE COMPETITION cuz I JUST HIT ONE OUTTA THE PARK! IT LOOKS AMAZING!!!!!

Got your big girl pants on?
Do ya? Huh?
Cuz you are about to see my bestest project ever come to life right before your little peepers!!!!!
(Maybe scroll back up and remind yourself of the before pic?)
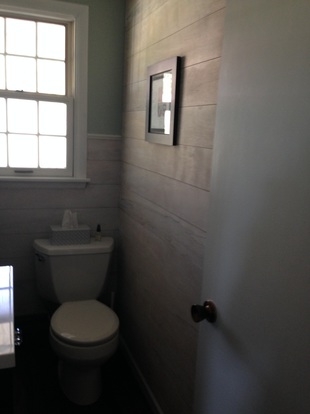
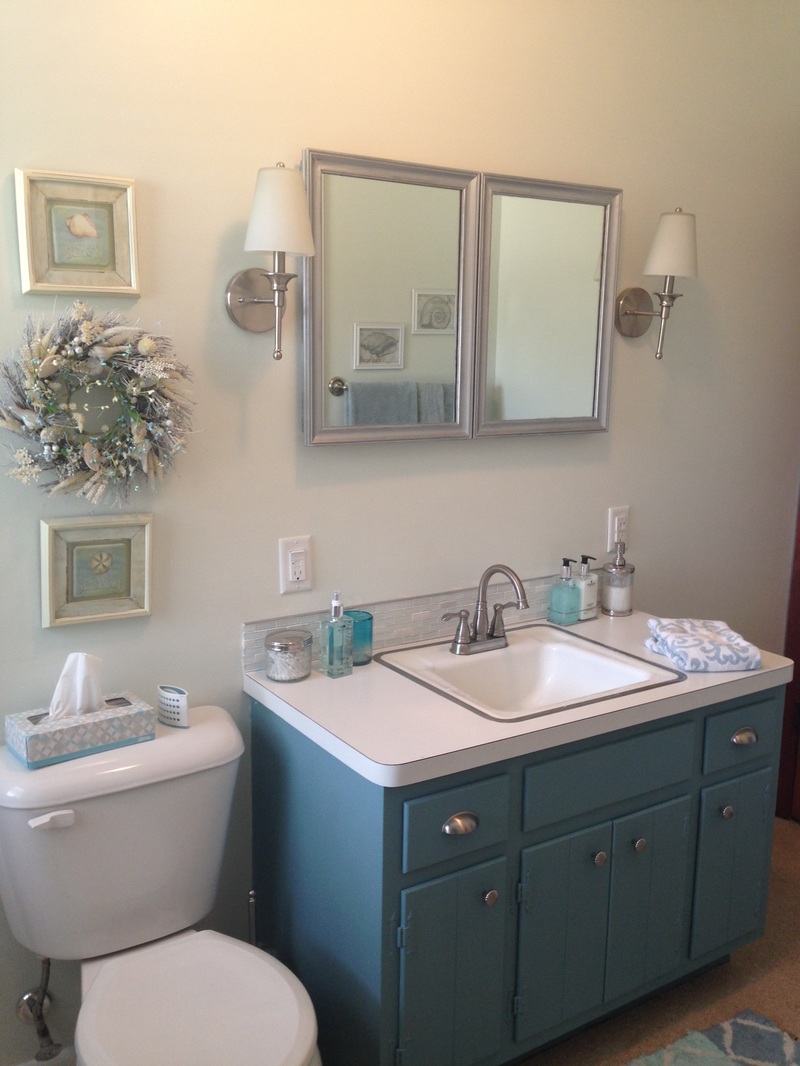
 |  WELCOME! |  |
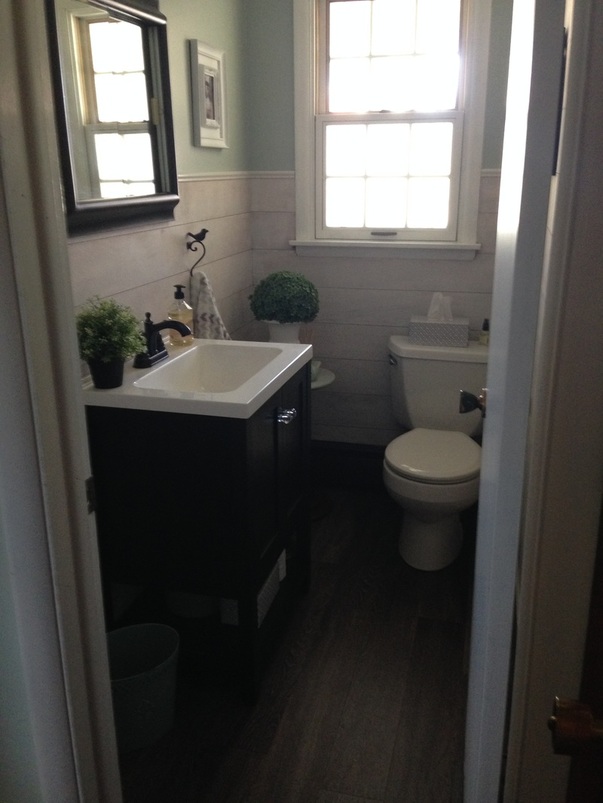
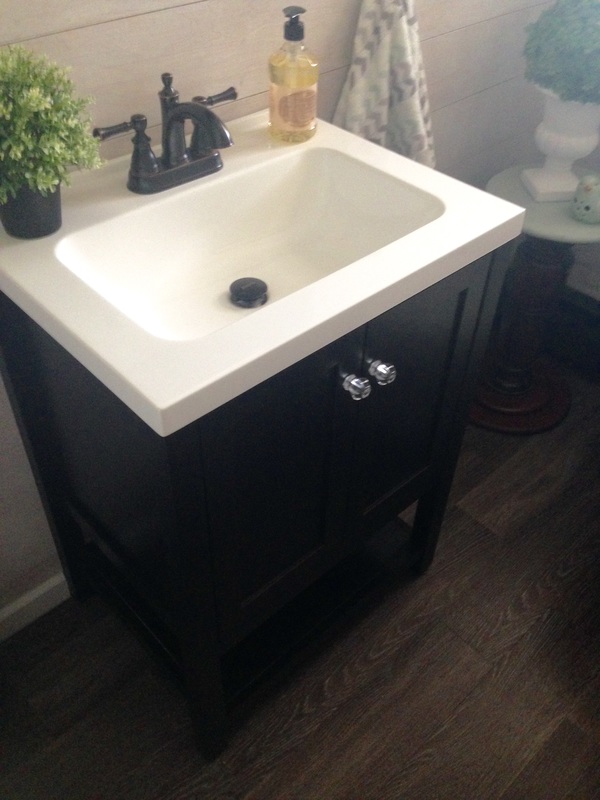
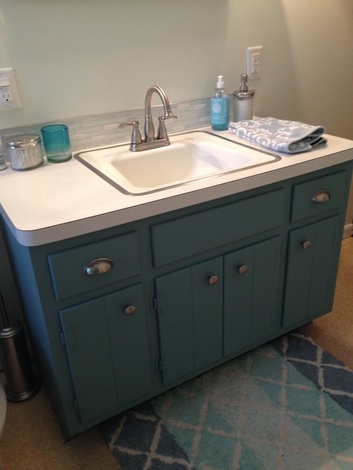
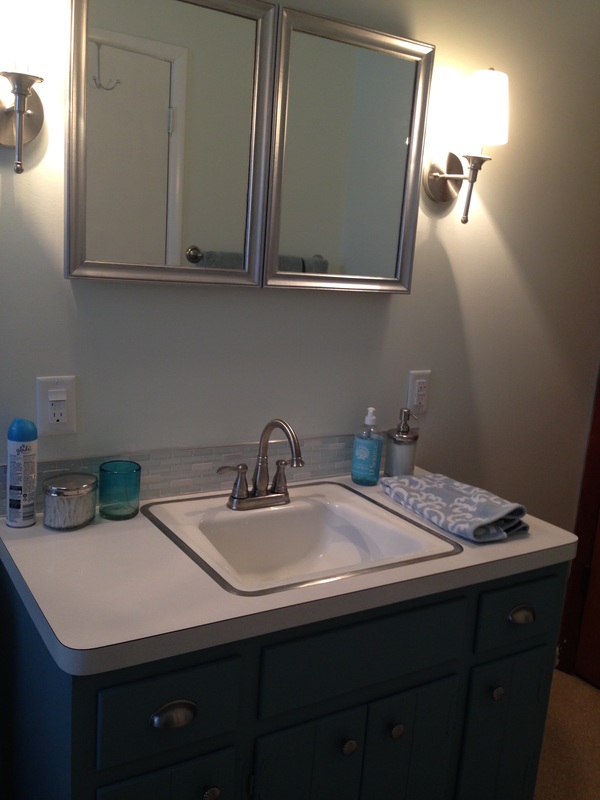
So hard to photograph with the light shining in. I swapped out the vanity knobs for a pair of glass ones I got for something else. There is a nifty shelf on the bottom of the vanity and it's legs make it look like a piece of furniture. And we are kinda crazy about the first ever "no pain in the drain" stopper that you press & it pops open & closed!
(We are easily entertained)
Oh, and that little faux plant on the sink: IKEA...went shopping for kitchen cabinets & came home with that instead. I don't get why Rich was SO HAPPY??**!!
I should probably look to see what green we used for the walls. It was the fastest paint color selection I made in the whole house. I mean I picked it out at the store and bought it! I NEVER DO THAT! Heck, this was the fastest design for a room I've ever done in my 25+ years of decorating!
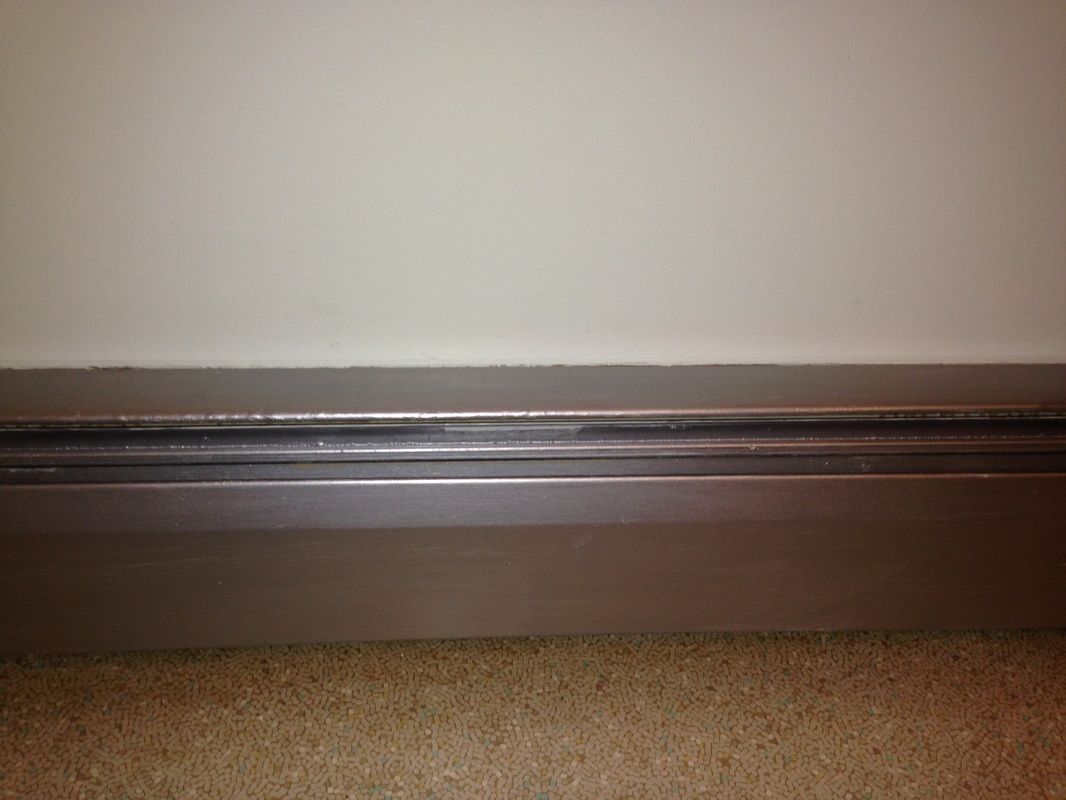
We love, love, love, love, the floor! It's a floating vinyl. It's installation a bit trickier than it should have been, but nothing comes easy in this world! Truth be told, it took us an entire Sunday, and we missed church. Confession over.
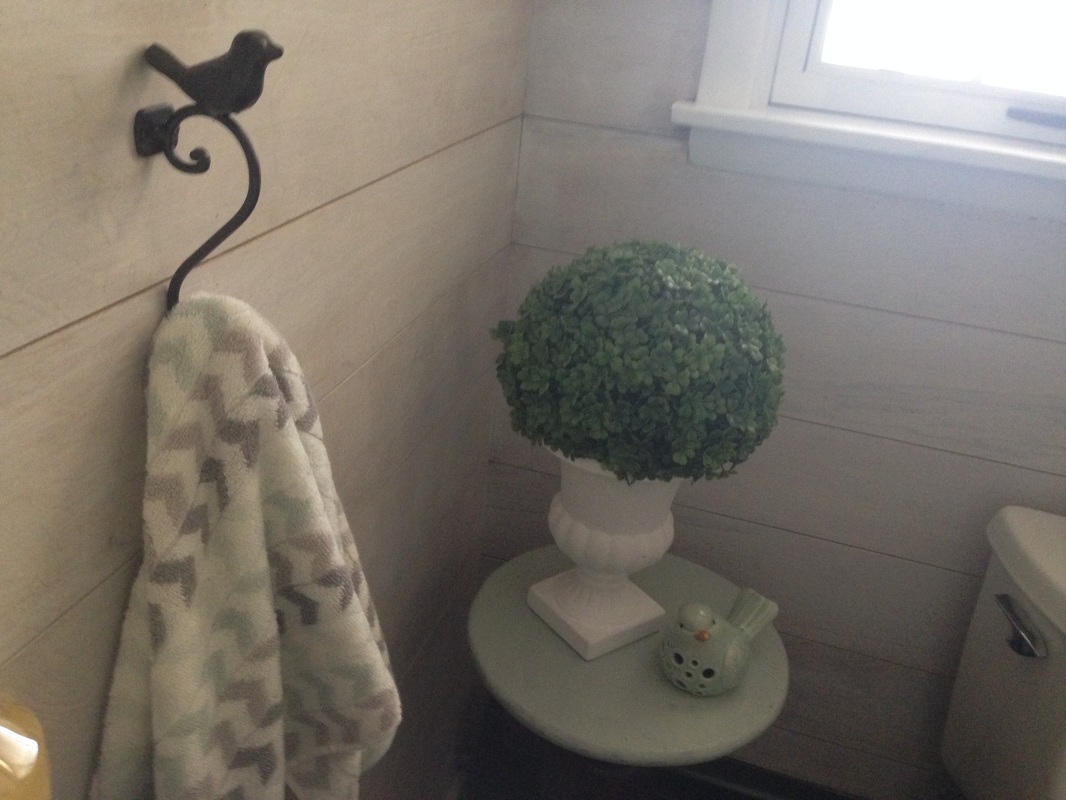
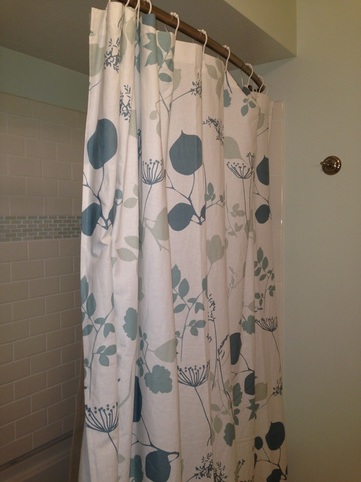
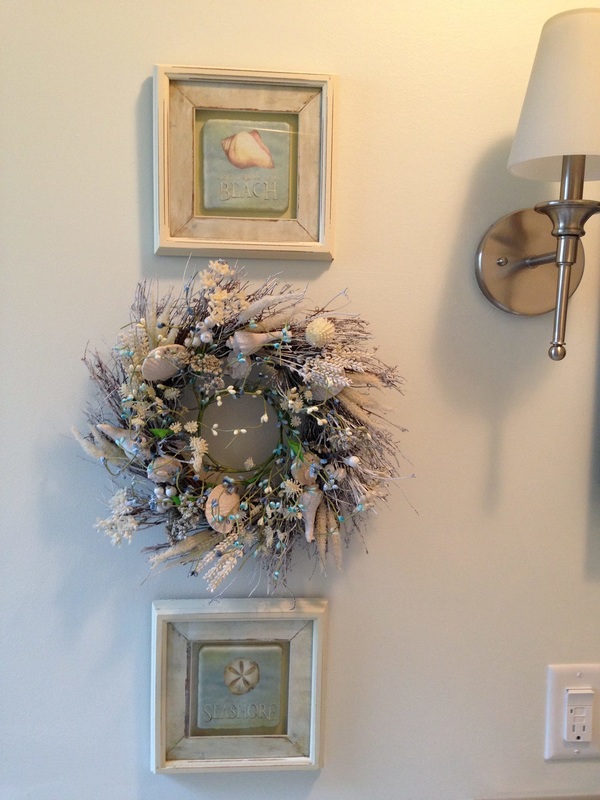
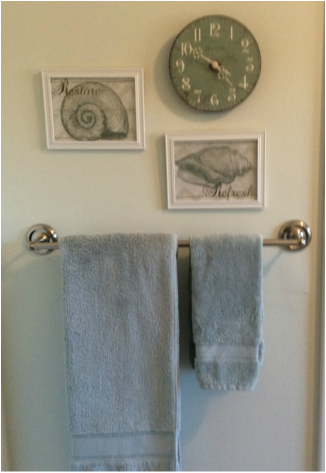
A bird and bloom in every room
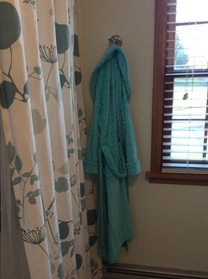
Isn't that hook so absolutely adorable?
A bird on the wall is worth more than a towel bar, any day!
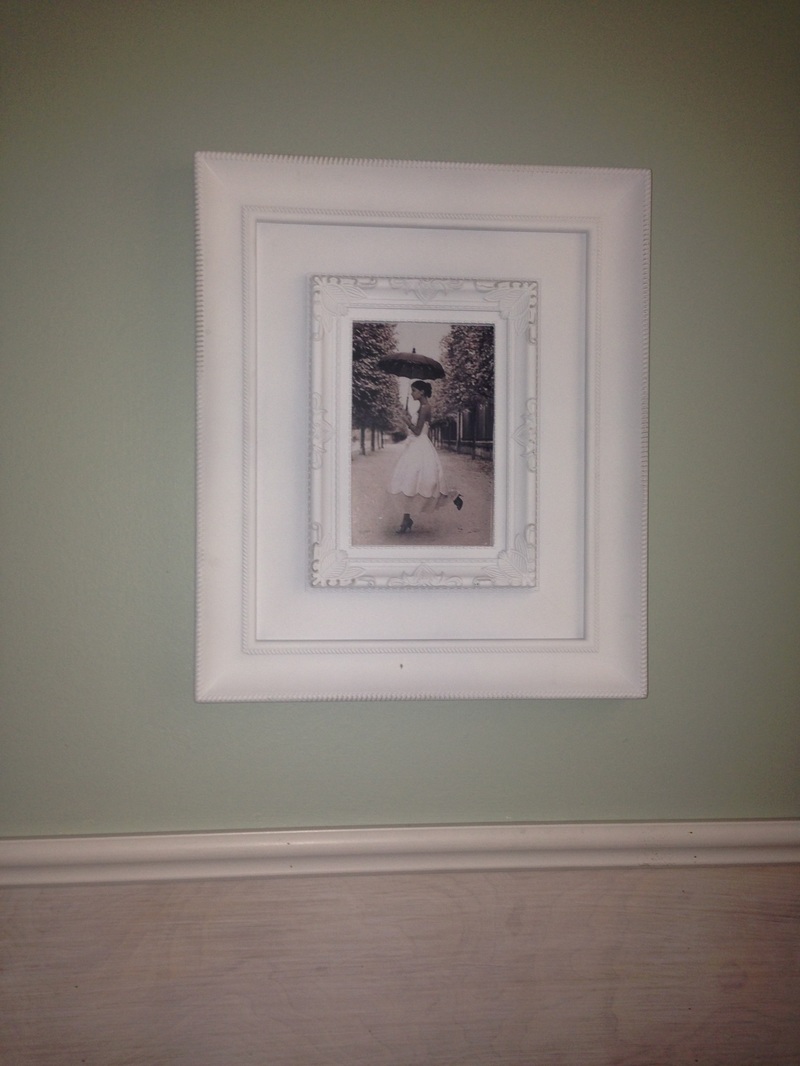
For Ladies...
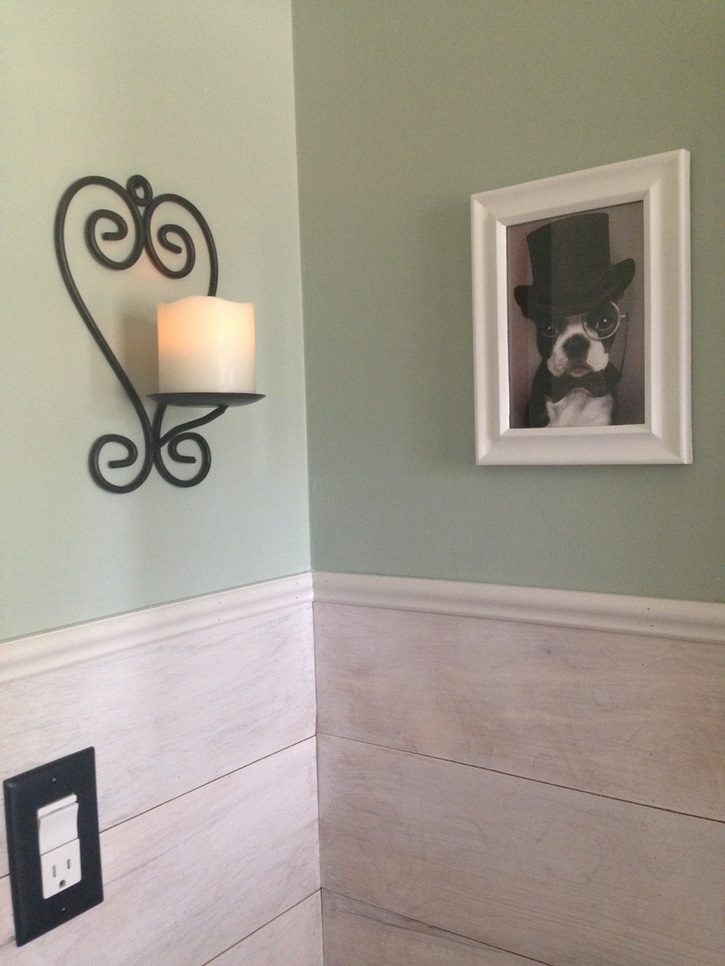
& Gentleman
(tee hee)
One last note before you "go"...Every time I used to enter this room, I'd have a seat and yell how I couldn't stand being in there. Now, every time I enter the room, Rich laughs from the other side of the door because I now exclaim,
"It's SO stinkin' CUTE!"
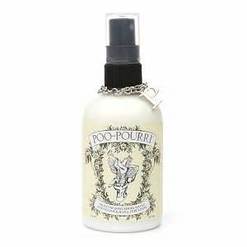
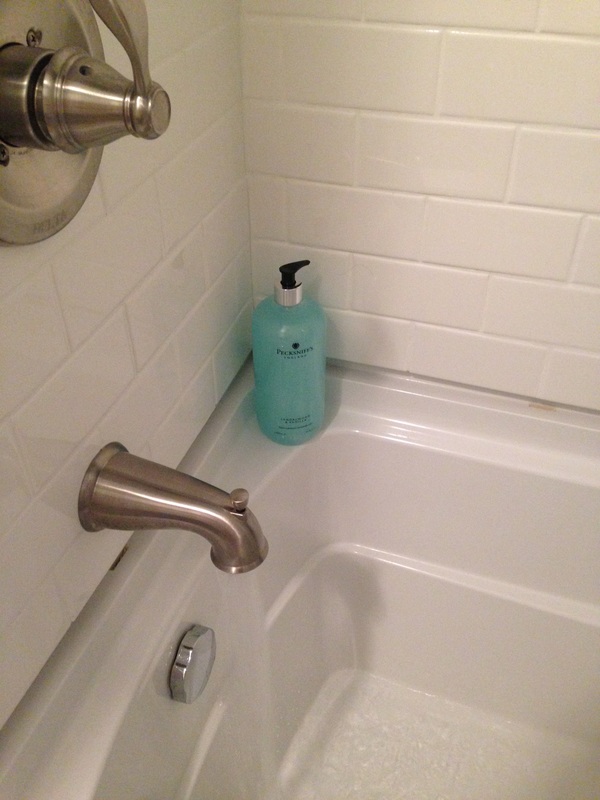
No pun intended. And just in case your brain was going that direction, there happens to be a little bottle of this little miracle wonder strategically placed upon the porcelain throne!
Just spritz, then poo as if nobody knew!


 RSS Feed
